Chicken Biryani
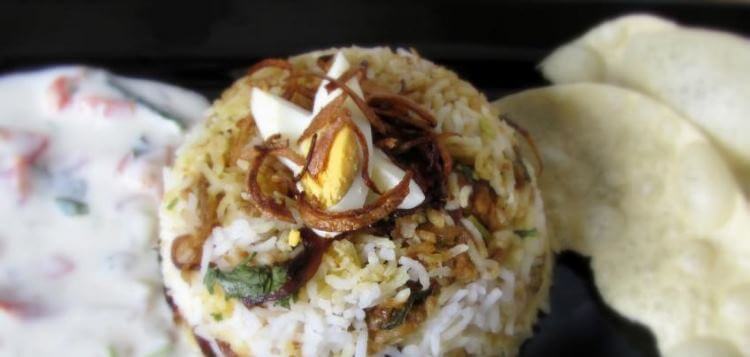
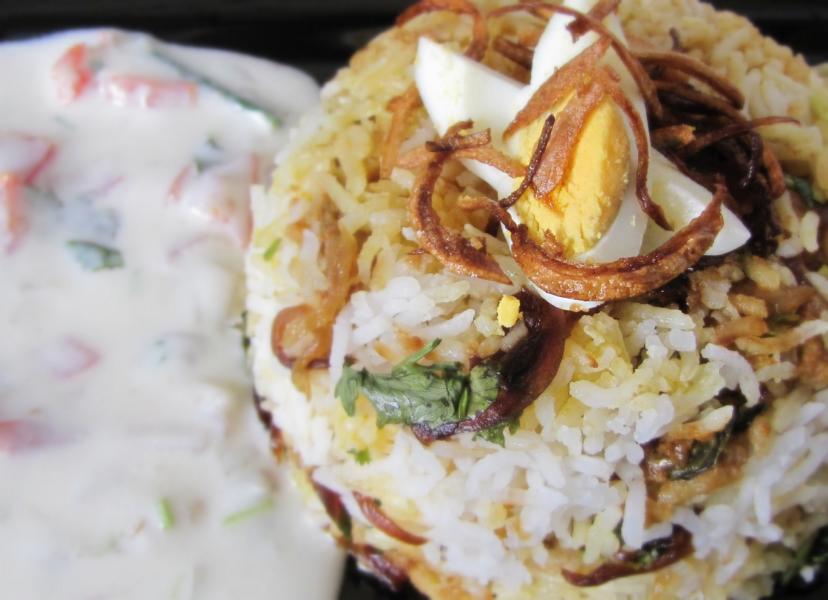
Biryani is one of the most widely traveled Indian dishes. I say widely traveled because, just like butter chicken, and chicken tikka, it is not only well known across the world, but it also picks up nuances and transforms itself slightly wherever it goes adjusting to the taste of the region. It may not be originally Indian, as it was brought to the subcontinent by the Moghul / Persian rulers. But just as India became home to the Persians, it also became home to this one pot royal delicacy of mixed flavors and cultures.
Biryani is one of the dishes I mastered quite early in my cooking days. Back then, I used to make it at home, in India, on some special weekend and I remember my Dad being so excited about it. He loves it and could never have enough of my Biryani. Not much has changed, as now my husband greets it with equal or more enthusiasm. In my house, Biryani is not a meal; it is a ritual characterized by feverish excitement, loud cheering, applause and even some boogie woogie if it is made after a long time.
Since it has been a long time since I got the chance to make this for my Dad, I’d like to dedicate this post to him!
Ingredients
Directions
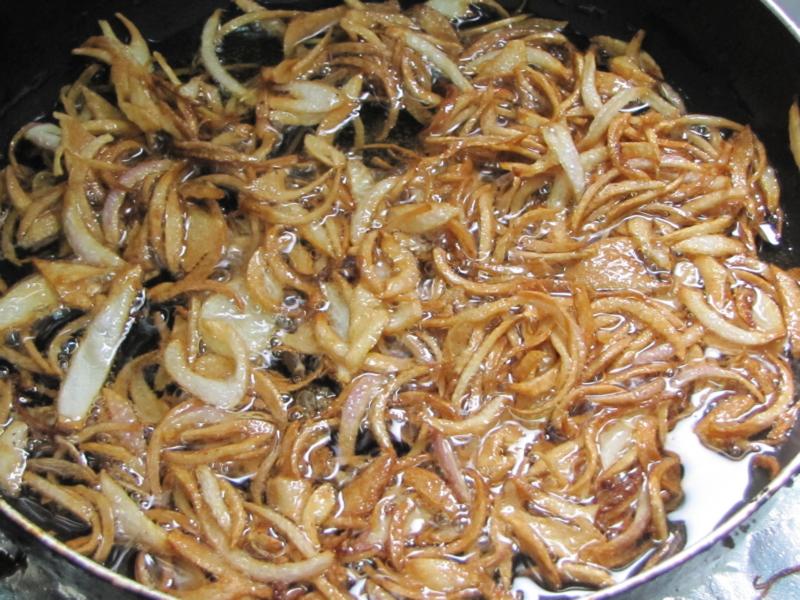
Fried onions are a very important part of any Biryani, whether it is to mix with the marinade, or for garnishing. You have to keep an eye on them while deep frying. Fry till they turn a deep golden – light brown colour. Make this first, and keep aside.
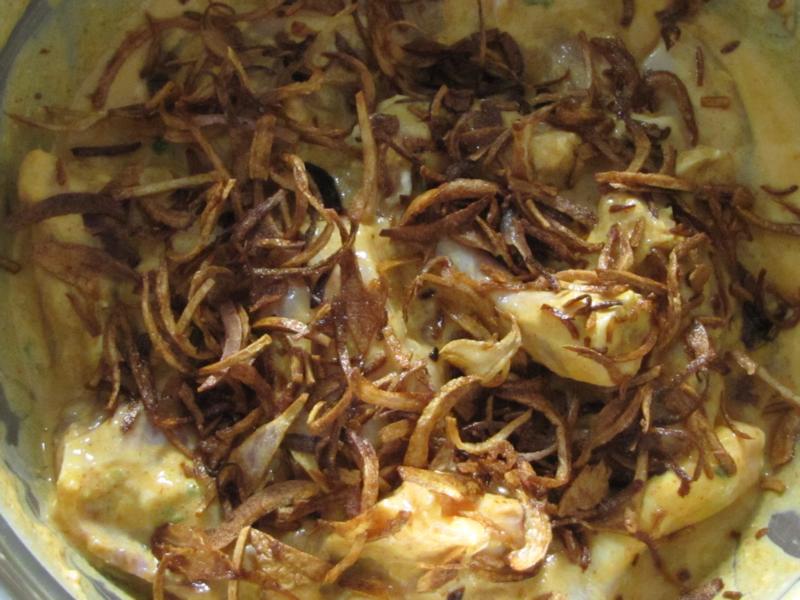
Then get started on your marinade. Here, yoghurt is a key ingredient as it gives the chicken a creamy and rich texture and brings the slight tanginess. Coarse paste of ginger, garlic and green chilies along with red chili powder, turmeric powder and the fried onions.
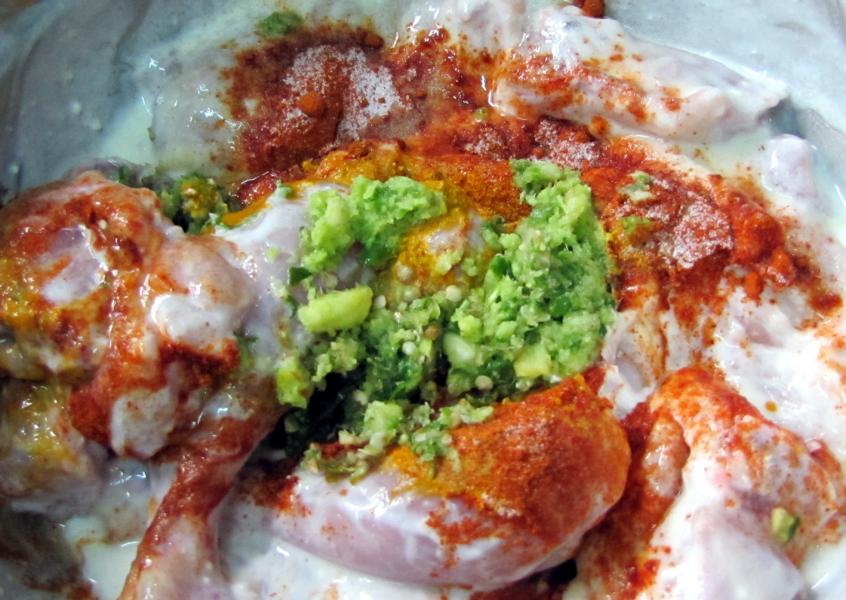
Mix well and let it stand for 2 – 3 hours. Even better, if marinated overnight as it will result in soft, succulent chicken.
Cooking the rice for the Biryani can be a bit tricky sometimes. It is best to use Basmati rice as it has a beautiful aroma and the long grains add to the aesthetic appeal. The rice is cooked in double quantity of water and whole spices that make the rice itself full of flavor.
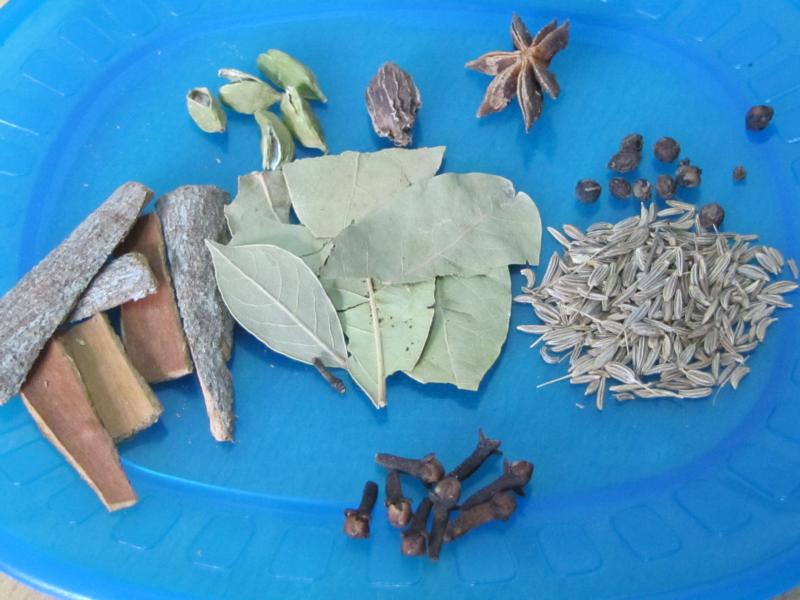
It is important to remember that the rice will be cooked again along with the chicken. So cook the rice with the whole spices until it is just cooked and the grains are separate and fluffy.
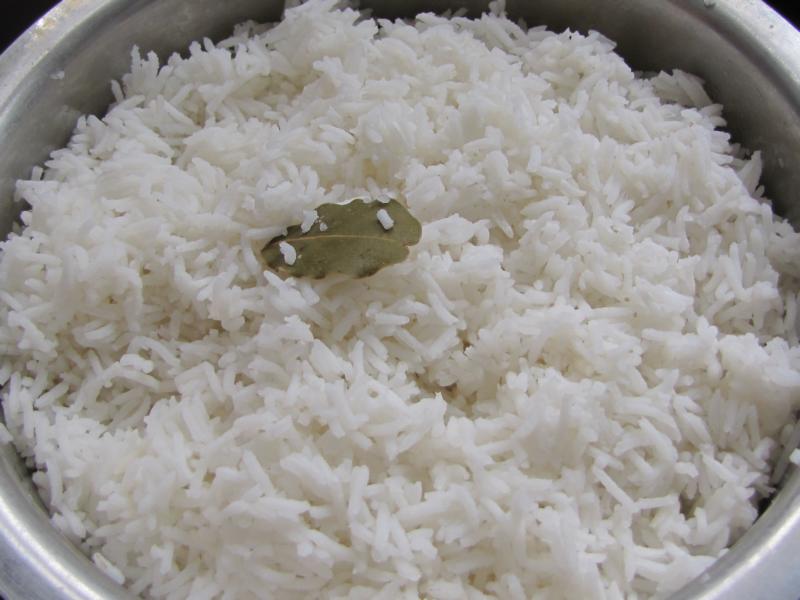
Let the rice cool. In some versions of Biryani (Kacchi Biryani) the marinated meat / chicken is added raw and cooked with the rice. I am not following this version. I cook the chicken separately and then eventually bring both the cooked separates together and cook it again.
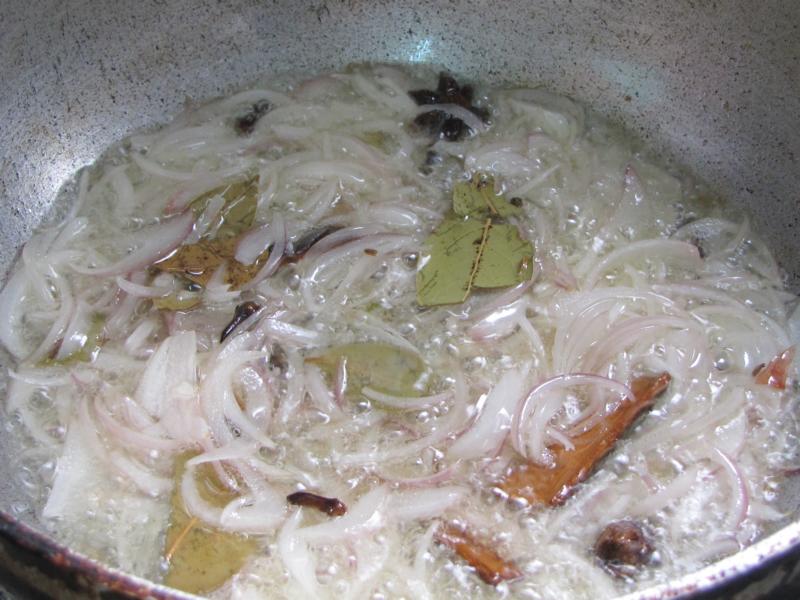
Fry whole spices and sliced onions in oil or ghee. Add ginger, garlic, and green chili paste followed by turmeric, coriander and red chili powder. Fry and then add tomatoes.
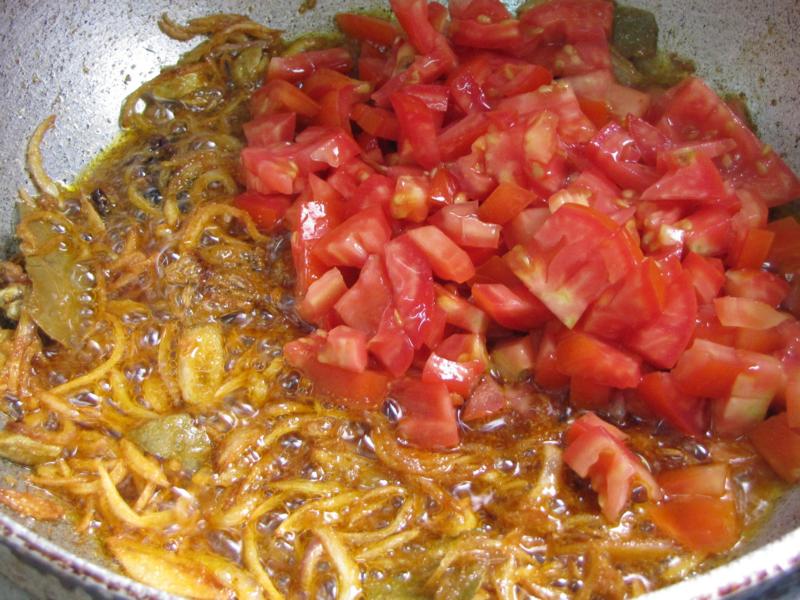
Fry the mixture till the oil starts to separate.
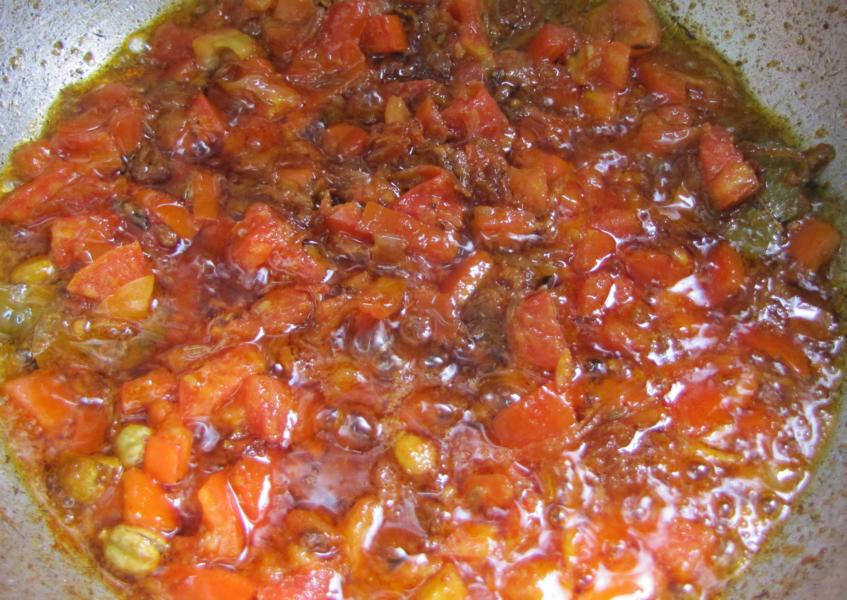
Then add the marinated chicken with all the marinade.
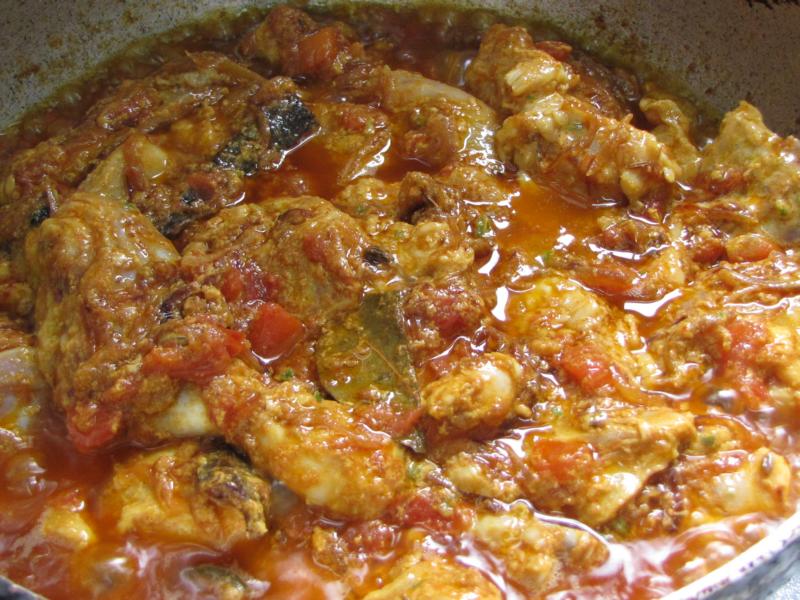
Add coriander & mint leaves and dried prunes and cook till chicken is cooked and gravy is of thick consistency. Again remember that this will be cooked again so DO NOT overcook the chicken.
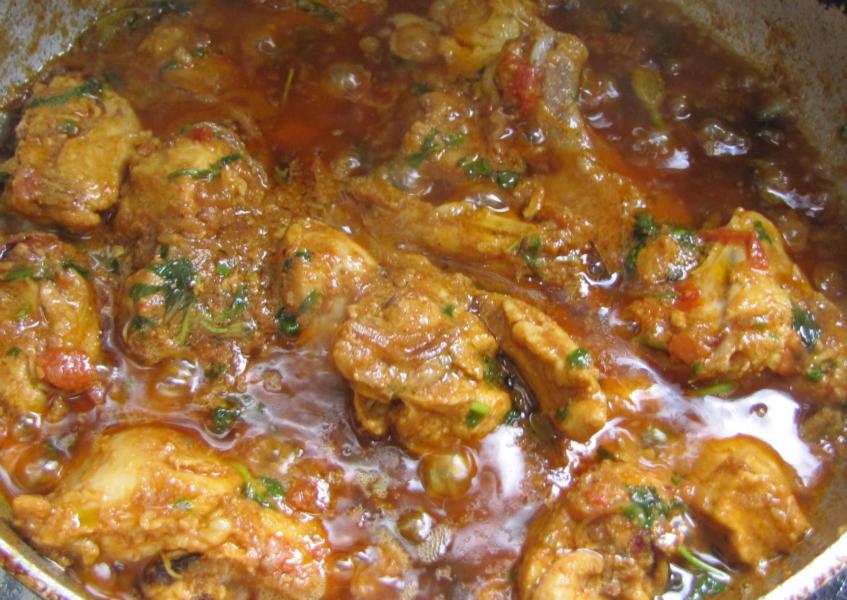
Now we assemble the two parts together. I often do this in the microwave as I find it easier and much quicker. However it can also be done on gas.
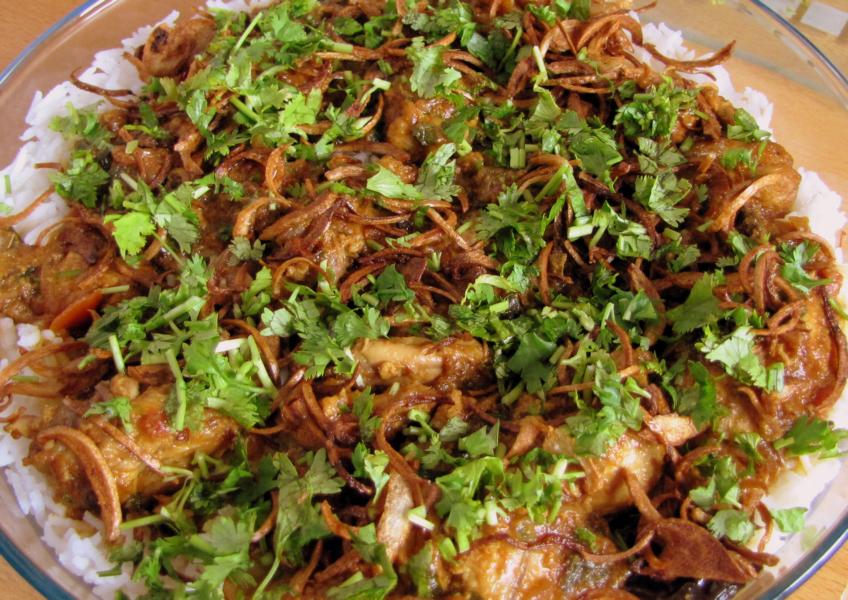
Layer the cooked rice at the bottom of the bowl. Top it with the chicken mix. Add some fried onions, coriander and mint leaves. Top it with another layer of rice. Sprinkle more fried onions, coriander and mint leaves.
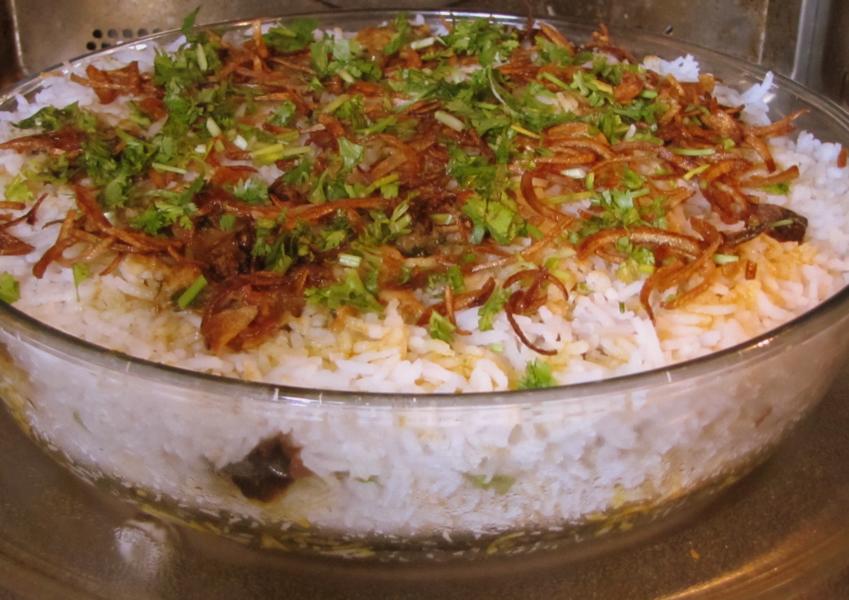
If you prefer to cook on gas, make sure to use a heavy bottomed vessel with a well fitted lid. Layer as mentioned above, then cover with aluminium foil and put the lid on. You can put something heavy on top of the lid to make it more foolproof. Another method is by sealing the lid with atta / flour dough rolled into a long thick strip and stuck to the edges of the vessel and lid. Put this sealed vessel on top of a flat broad pan and cook on low flame.
Ingredients
Directions

Fried onions are a very important part of any Biryani, whether it is to mix with the marinade, or for garnishing. You have to keep an eye on them while deep frying. Fry till they turn a deep golden – light brown colour. Make this first, and keep aside.

Then get started on your marinade. Here, yoghurt is a key ingredient as it gives the chicken a creamy and rich texture and brings the slight tanginess. Coarse paste of ginger, garlic and green chilies along with red chili powder, turmeric powder and the fried onions.

Mix well and let it stand for 2 – 3 hours. Even better, if marinated overnight as it will result in soft, succulent chicken.

Cooking the rice for the Biryani can be a bit tricky sometimes. It is best to use Basmati rice as it has a beautiful aroma and the long grains add to the aesthetic appeal. The rice is cooked in double quantity of water and whole spices that make the rice itself full of flavor.

It is important to remember that the rice will be cooked again along with the chicken. So cook the rice with the whole spices until it is just cooked and the grains are separate and fluffy.

Let the rice cool. In some versions of Biryani (Kacchi Biryani) the marinated meat / chicken is added raw and cooked with the rice. I am not following this version. I cook the chicken separately and then eventually bring both the cooked separates together and cook it again.

Fry whole spices and sliced onions in oil or ghee. Add ginger, garlic, and green chili paste followed by turmeric, coriander and red chili powder. Fry and then add tomatoes.

Fry the mixture till the oil starts to separate.

Then add the marinated chicken with all the marinade.

Add coriander & mint leaves and dried prunes and cook till chicken is cooked and gravy is of thick consistency. Again remember that this will be cooked again so DO NOT overcook the chicken.

Now we assemble the two parts together. I often do this in the microwave as I find it easier and much quicker. However it can also be done on gas.

Layer the cooked rice at the bottom of the bowl. Top it with the chicken mix. Add some fried onions, coriander and mint leaves. Top it with another layer of rice. Sprinkle more fried onions, coriander and mint leaves.

If you prefer to cook on gas, make sure to use a heavy bottomed vessel with a well fitted lid. Layer as mentioned above, then cover with aluminium foil and put the lid on. You can put something heavy on top of the lid to make it more foolproof. Another method is by sealing the lid with atta / flour dough rolled into a long thick strip and stuck to the edges of the vessel and lid. Put this sealed vessel on top of a flat broad pan and cook on low flame.

Notes
Related recipes
Looks yummmy!! Can’t wait to try this 🙂
Thanks Jen.Will soon treat u to this 🙂 🙂
Omg!! this is so yummmmmmmm!! Tried and loved it!!!!
Got the recipe at the right time wen i was thinking of trying out some new method of making biryani for my guests for dinner yesterday. They loved it too.Thumbs up!!! carry on the good work. Continue giving us some mouth watering dishes.
Nice to know that you liked it. Thanks aunty 🙂
hello simmi,
Great to see the lovely briyani pictures ready to be had.We can try in your next trip to india. My mind traveled to the sunday briyani in our house at pimpri.dad
hose at pimpri